Cleaning your room can feel overwhelming when things are out of place or cluttered. It is not always easy to know where to start, especially if it has been a while since everything was put back where it belongs. However, the effort to organize and clean a room is worth it. A refreshed space can help you feel calmer, more focused, and ready to take on whatever lies ahead.
Breaking the process into smaller, straightforward steps makes it manageable. Whether it is organizing items on your desk, folding clothes, or wiping down surfaces, each action contributes to creating a space that feels comfortable and inviting. This guide will help you tackle the task with practical, realistic steps to ensure the process is as stress-free as possible. Let us get started.
Start with Decluttering
A clean room begins with removing unnecessary items that contribute to the mess. Decluttering is about sorting through what you truly need and letting go of what is no longer serving a purpose. Taking this first step creates space and makes cleaning your room much easier.
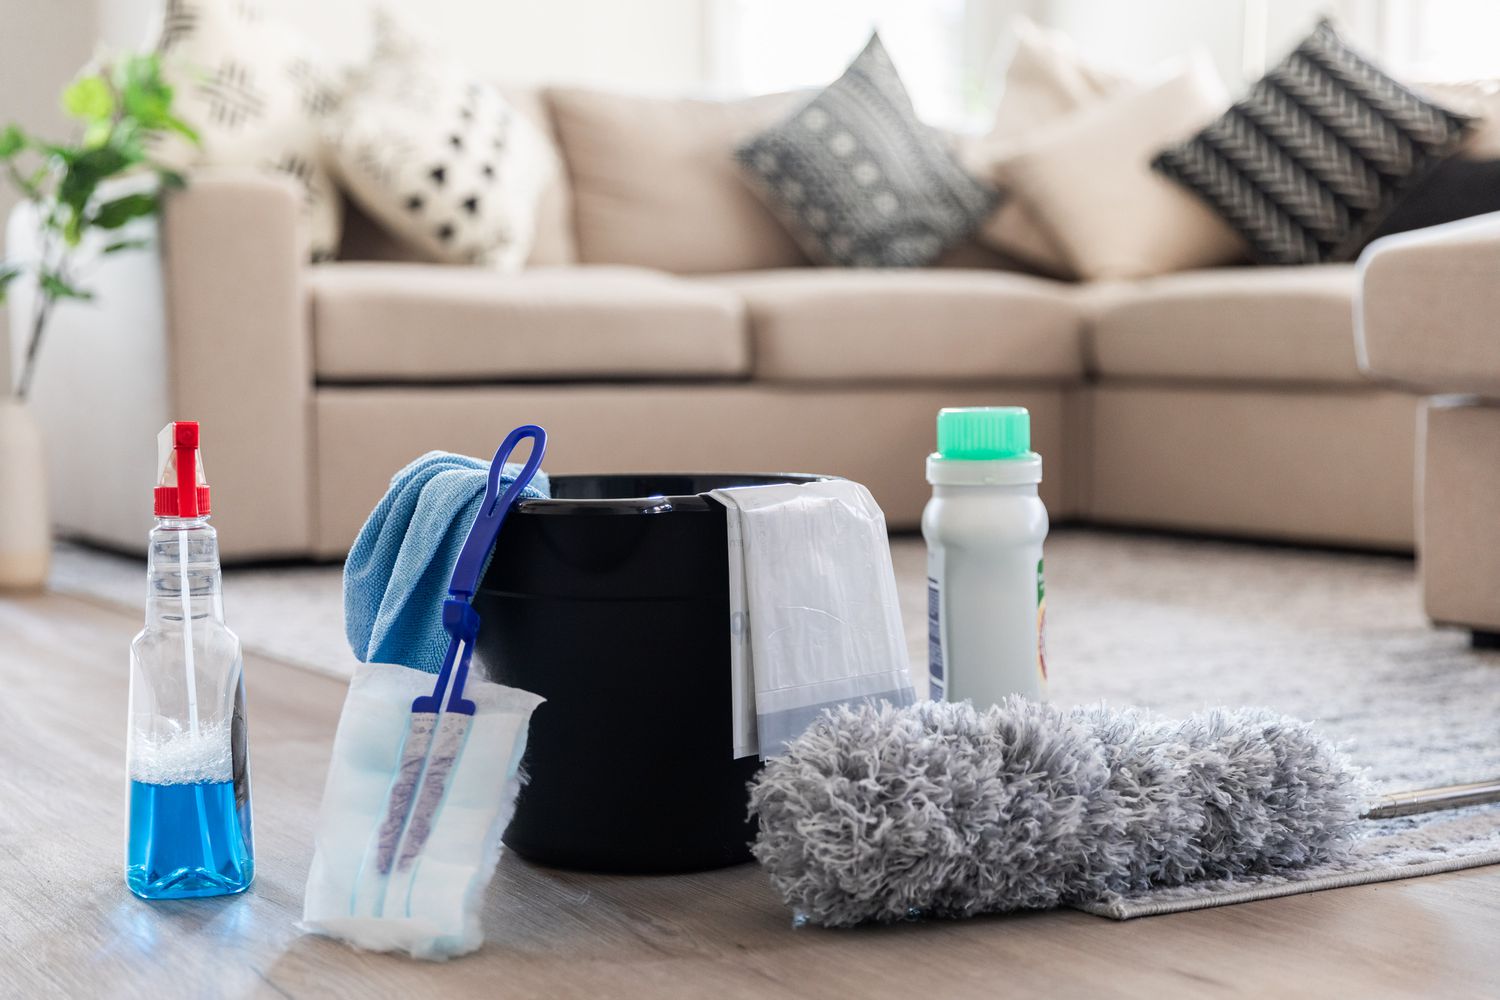
1. Gather Your Supplies
Before you start, grab a few essentials: a trash bag, a donation box, and a laundry basket. These will help you sort items quickly and efficiently.
2. Focus on One Area at a Time
Begin with smaller sections like your desk, bedside table, or a specific corner. This prevents you from feeling overwhelmed and ensures progress is noticeable.
3. Decide What Stays and What Goes
For every item, ask yourself if it is useful, meaningful, or necessary. Keep what adds value to your life and place unwanted items in the trash or donation box.
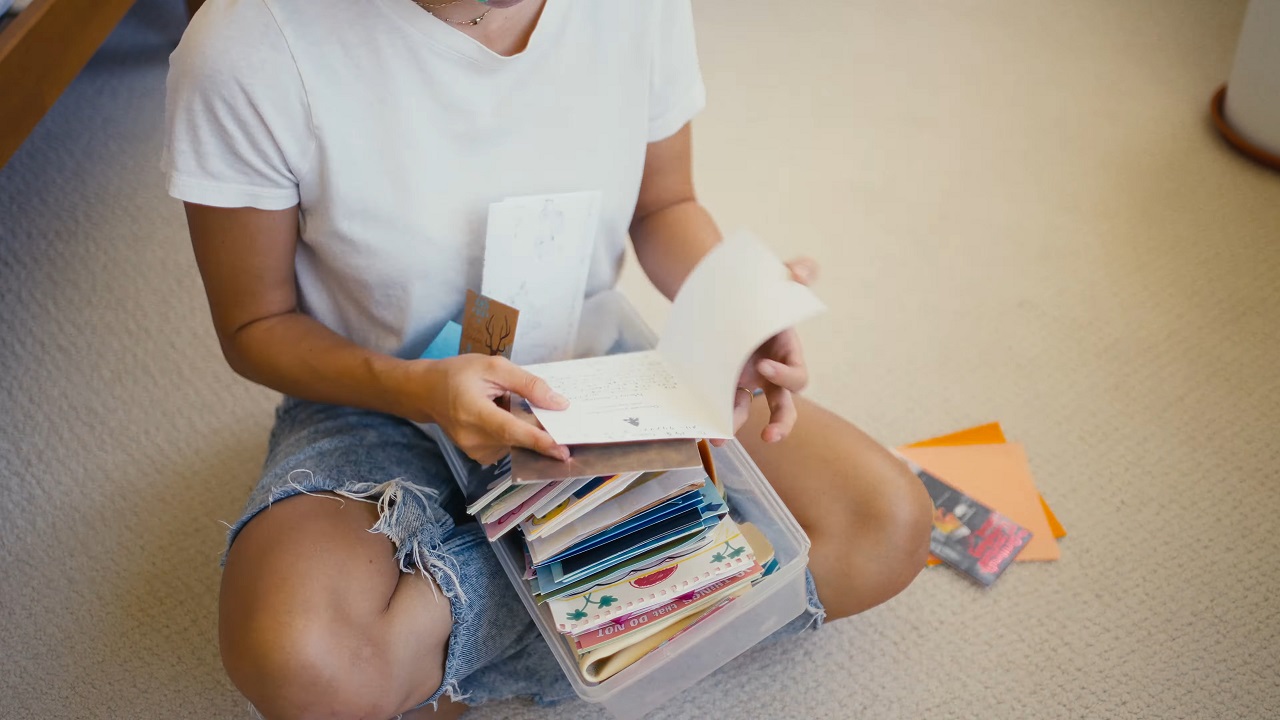
4. Handle Sentimental Items Separately
If you come across sentimental items, set them aside for later. Dwelling on these during the process can slow you down. Revisit them when the rest of the room is complete.
Make the Bed First
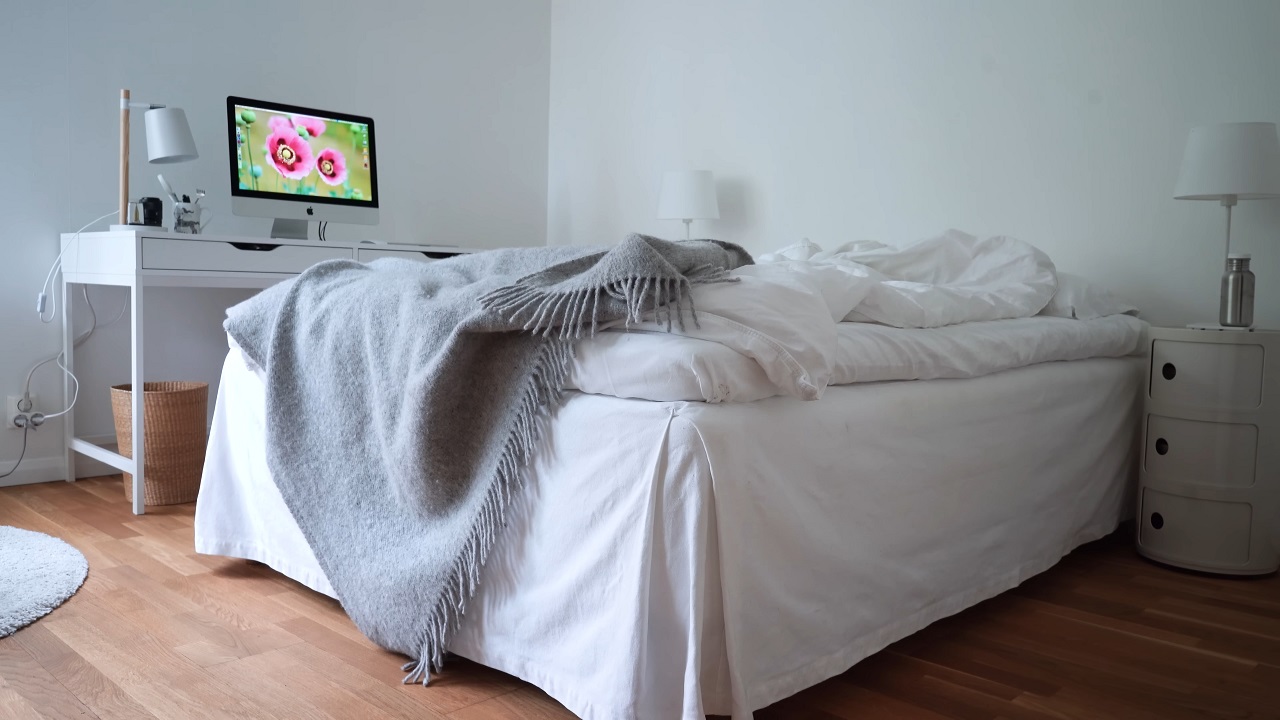
Making the bed transforms the look of the room instantly and provides a clean surface to organize other items as you go. It is a small step that sets the tone for the rest of the cleaning process.
1. Remove Everything from the Bed
Take off pillows, blankets, and sheets. This ensures you start fresh and gives you a clear area to work on if needed.
2. Put on Fresh Linens
Replace old sheets with clean ones. This simple action can make the room feel significantly fresher.
3. Arrange Pillows and Blankets
Neatly place pillows and blankets on the bed. A well-made bed gives the room a polished appearance and can motivate you to continue cleaning.
4. Use the Bed as a Temporary Sorting Space
While cleaning, the bed can serve as a spot to organize items before finding their proper places. Just ensure everything is cleared off before you finish.
Organize Items into Categories
Sorting items into categories helps you stay organized and ensures that everything finds a proper place. This step eliminates the “random pile” effect and keeps clutter from returning.
1. Begin with Similar Items
Group similar items like clothes, books, electronics, and personal items. This makes it easier to see what belongs in the same space and what might need to be relocated.
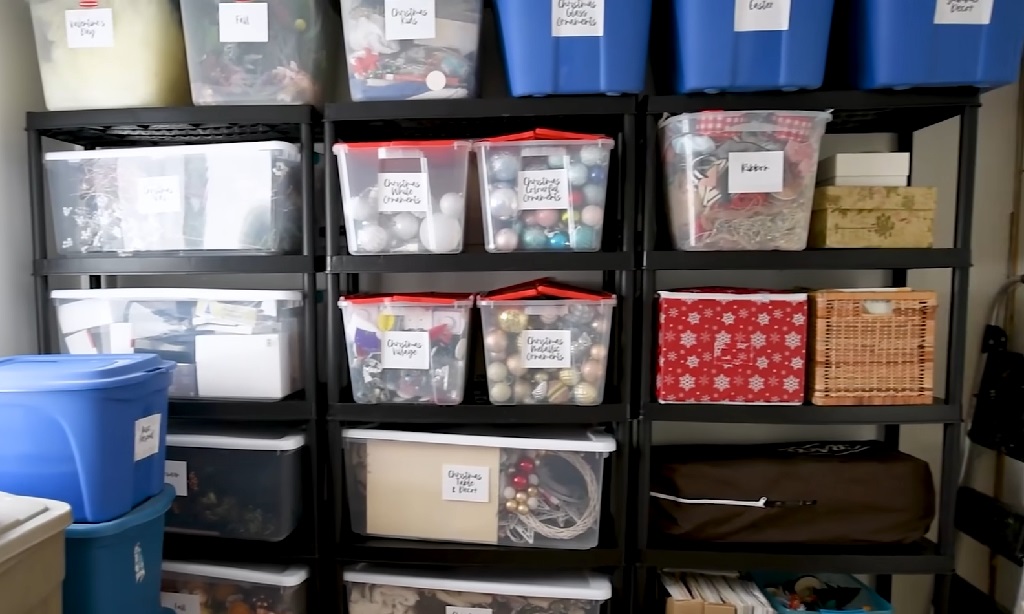
2. Use Containers or Bins
Place categorized items into containers or bins for easier management. For example, use a basket for laundry, a box for documents, and small trays for accessories.
3. Return Each Category to Its Spot
Once categorized, decide where each group belongs and put them back in their respective places. Assign specific areas for frequently used items to keep them accessible.
Clean Surfaces and Remove Dust Thoroughly
Dust and dirt on surfaces can accumulate over time, leaving your room looking unkempt. A detailed approach to cleaning surfaces ensures a fresh environment that feels hygienic and welcoming. Proper tools and products make this task easier and more effective.
Remove all items from desks, shelves, tables, and any other surfaces. Just like with kitchen cabinets, this allows you to clean thoroughly without obstacles. Use this opportunity to evaluate if the items you are removing belong in that space or need to be relocated.
Select the Right Cleaning Tools
Different surfaces require specific tools to avoid damage:
- For Wooden Furniture: Use a microfiber cloth and a gentle wood polish or cleaner. Avoid abrasive products that can scratch or dull the finish.
- For Glass or Mirrors: Choose a streak-free glass cleaner and a soft lint-free cloth. Paper towels often leave residue, so a microfiber cloth is preferable.
- For Electronics: Use a dry or slightly damp microfiber cloth for screens and keyboards. Avoid spraying cleaners directly on electronics. Use compressed air for keyboards if needed.
- For Plastic or Laminated Surfaces: A mild, multi-surface cleaner works well for plastic furniture or laminated desks.
Clean Dusty and Forgotten Areas
Dust builds up in spots that are often ignored, so giving them attention can make a huge difference in your room’s overall cleanliness. Ignoring these places allows dirt to pile up unnoticed, making your space feel less fresh.
Hard-to-Reach Places Need Attention
Use a long-handled duster or microfiber cloth to clean ceiling corners, the tops of door frames, and light fixtures. These spots are rarely cleaned and often collect cobwebs and thick layers of dust.
Window Sills and Frames Get Dirty Fast
Windows attract dirt, especially around the sills, tracks, and frames. A damp cloth and a brush with stiff bristles can make quick work of these areas. Regularly cleaning windows helps prevent buildup.
Move Furniture to Get to Hidden Dirt
Shift furniture like beds and sofas to clean behind and underneath them. Use a broom or vacuum to remove dust, crumbs, and other debris that tend to gather in these forgotten spaces.
Shelves and Decorative Pieces Need Care
Take items off shelves, including books, frames, and small decorations. Wipe each piece thoroughly before cleaning the surface beneath them. Dust tends to settle under objects that are rarely moved.
Thorough Sweeping or Vacuuming
Begin by vacuuming or sweeping the entire floor, paying special attention to corners, under furniture, and along baseboards where debris tends to gather. Use a crevice tool for hard-to-reach areas.
Handle Stains or Spills Promptly
For carpets, use a stain remover designed for the specific type of stain. For hardwood or tile floors, use a mop with a gentle cleaning solution suitable for the surface. Avoid overly wet mops on wood to prevent damage.
Move Furniture for a Deeper Clean
If possible, shift furniture slightly to clean areas underneath. Dust and dirt often accumulate in these hidden spots, so addressing them ensures the room feels truly clean.
Freshen the Space
A clean room looks great, but creating a fresh and welcoming atmosphere takes it to the next level. Adding small touches can improve the air quality and make the room feel more inviting.
Improve Air Circulation

Open the windows, if possible, to let fresh air flow through the room. Even a few minutes of ventilation can remove stuffiness and leave the space feeling renewed.
Neutralize Odors Naturally
Place a small bowl of baking soda or activated charcoal in the room to absorb any lingering odors. Alternatively, a lightly scented candle or essential oil diffuser can enhance the freshness without being overpowering.
Add Soft Textures
Introduce a clean throw blanket or freshly laundered cushion covers. These small details can instantly make the room feel more comfortable and welcoming.
The Essential Checklist
- Start by decluttering and removing unnecessary items.
- Make the bed and create a clean base to work from.
- Organize items into categories and return them to their proper places.
- Clean all surfaces thoroughly, removing dust and grime.
- Pay attention to forgotten areas like corners, window sills, and under furniture.
- Vacuum or sweep the floor and handle any stains.
- Freshen the room with proper ventilation.
FAQs
How Often Should You Deep Clean a Room?
Deep cleaning should be done every 1-2 months, depending on how quickly clutter and dirt accumulate in your space. Regular tidying up and light cleaning weekly can reduce the need for frequent deep cleans.
What Are the Best Methods for Cleaning Walls?
Use a soft sponge with warm water and mild soap to wipe down walls. For stubborn marks, a magic eraser or a vinegar-water solution can be effective. Always test a small, inconspicuous area first to avoid damage.
How Can I Keep My Room Clean After Tidying?
Adopt simple habits like putting items back in their proper place immediately after use, emptying trash bins regularly, and dedicating 5-10 minutes daily to tidying up.
What Should I Do About Pet Hair on Furniture and Floors?
Use a vacuum with a pet hair attachment or a lint roller for furniture. For floors, a rubber broom or vacuum with a HEPA filter is effective at picking up pet hair.
Are Natural Cleaners Effective for Disinfecting?
Natural cleaners like vinegar and baking soda can clean surfaces well, but for disinfection, you may need stronger solutions like diluted bleach or commercial disinfectants that meet health standards. Always follow instructions for safe use.
Last Words
The hard work is done, and your room is finally clean. It might have taken time and effort, but now you have a space that feels clear and comfortable. There is nothing complicated about it—you put in the effort, and it shows.
Now you can enjoy the difference.
Read Next – Best Methods to Dehumidify a Room